 Ember
Ember
A trail camera that comes back empty usually isn't broken. It's failing at one specific job, and what's on the card (or isn't) tells you which one.
Most trail cameras that seem broken are working and failing at one job. The PIR sensor needs a surface-temperature difference moving sideways across its zones. Empty or partial frames point to trigger and placement, black or white night shots to flash range and reflection, and missing files to batteries, SD card or cellular signal.
Most trail cameras that "don't work" are working fine and failing at one specific job. A PIR sensor needs a warm animal crossing a cooler background, sideways, inside a zone often narrower than the lens. Empty frames, black night shots and missing files each point to a different fix.
Your camera isn't watching for motion
A trail camera doesn't see a deer walk by. It sees a patch of warm sliding across a patch of cooler, and if that difference is small, or the deer is walking the wrong direction, the camera does nothing and it does nothing correctly.
I learned that the expensive way. I've pulled cards full of empty frames, and cards full of tails and back halves and one ear at the edge of the shot, and more than once I stood at the tree and decided the camera was junk and started shopping for a new one before I'd even walked back to the truck. It wasn't junk. It was doing exactly what it was built to do, I just didn't know what that was, and nobody selling me the camera was in a hurry to explain it.
Here's what it was built to do. Welbourne and colleagues laid it out in a 2016 paper that anyone running cameras should read (How do passive infrared triggered camera traps operate and why does it matter?). The passive infrared (PIR) sensor responds to a difference in surface temperature between the animal and the background, moving across the sensor's detection zones. Not motion by itself. Not the deer's core body temperature either, but the surface of its coat against whatever is behind it. Everything else in this post falls out of that one sentence.
Hot afternoons shrink the zone
When the sun bakes the ground and brush in the afternoon, the background creeps toward the temperature of a deer's coat, the contrast shrinks, and the distance the camera can pick that deer up at shrinks right along with it. On a warm enough day a deer can walk through the frame and never register. You'll hear specific temperatures quoted for where this falls apart. I've never found a primary source for any of them, so I'm not giving you one. The direction is solid though: hotter background, weaker detection.
Sideways beats head-on
Welbourne's paper also covers this one: animals crossing the detection zones side to side trigger the sensor more reliably than animals walking straight at the camera. A deer coming head-on barely moves across the zones at all, it just gets bigger, and the sensor doesn't care much about bigger. I know aiming down the trail is tempting because you picture that long look at a buck walking in. Aim across the trail anyway.
Trigger speed and recovery time
Both of these are manufacturer specs, both are in your manual, and both cost you deer. Trigger speed is the delay between the sensor detecting something and the shutter firing, and a slow one gets you an empty frame or a tail. Recovery time is how long the camera sits blind after a shot, which is exactly how you end up with a nice photo of a doe and nothing of the buck trailing her by a few seconds. My own rule of thumb is that anything slower than about half a second on trigger is going to hand you tails on a walking deer, but that's my field rule, not a tested number. Check what your camera claims, then check it against what's on the card.
The sensor and the lens aren't looking at the same thing
The detection zone and the lens's field of view are two different shapes, and they often don't match. So an animal at the edge of the frame shows up half in or not at all, because it was in the picture but never in the zone (or the other way around). The zone isn't even fixed. Rowcliffe et al. 2011 found a camera's effective detection zone varies with the animal's size and speed, so the same camera sees a big slow deer differently than a small fast one.
Sensitivity
Too low misses deer. Too high fills the card with wind triggers and eats your batteries. The fix is boring and it works: walk test it. Set the camera, walk across the zone at the distance you expect deer, at a walking pace, sideways and then head-on, and see what actually fired.
Read the card before you move the camera
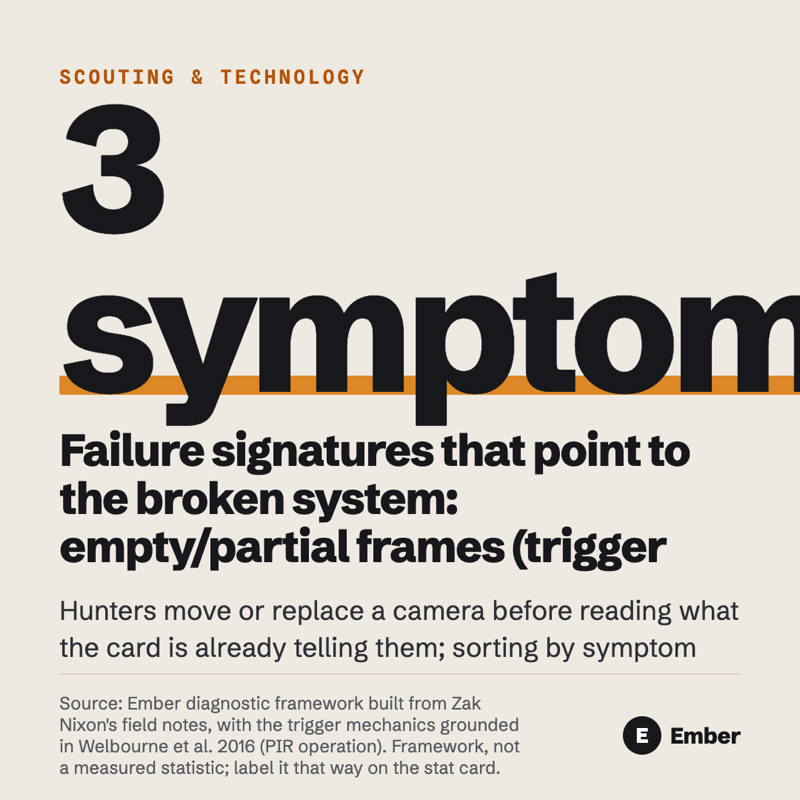
The card is already telling you what's wrong, and most of us (me included, for years) yank the camera and hang it somewhere else before reading it. I sort what comes off the card into 3 symptoms, each pointing at a different system. Empty or partial frames point at trigger and placement. Black or blown-out night frames point at flash and reflection. No files or missing days point at power, card or signal. That turns thirty-odd possible causes into one short checklist per symptom.
| Symptom | Most likely cause | First fix |
|---|---|---|
| Empty daytime frames | Brush or grass moving in sun, a thin tree swaying, sensitivity set too high | Clear a lane, move to a thicker tree, drop sensitivity a notch (see Placement causes most blank cards) |
| Tails and half bodies | Slow trigger, deer approaching head-on, detection zone narrower than the lens, camera too close | Aim across the trail, back the camera off, check trigger speed in the manual (see Your camera isn't watching for motion) |
| Black or grainy night shots | Deer past the IR flash range, motion blur from a slow low-light shutter | Set up where deer pass within flash range and where they slow down (see Night shots) |
| White, blown-out night shots | A weed or branch near the lens bouncing IR back | Trim everything within a few feet of the lens (see Night shots) |
| Whole days missing, or no files | Dead or cold batteries, full card with overwrite off, wrong or unformatted card, time-lapse or schedule setting | Lithium batteries, format the card in the camera, check every setting (see Batteries, SD cards and cold weather) |
| Captured but never arrived (cellular) | Weak signal, lapsed or maxed data plan, thumbnail-only uploads | Check signal at the mount, check the plan, request the full-res file (see Weather, critters and cellular cameras) |
One rule before you start fixing: change one thing per pull. If you move the camera, swap the batteries and change sensitivity all on the same trip and the next card comes back clean, you have no idea which one did it, and you'll make the same mistake on the next camera.
Placement causes most blank cards
Facing east or west
Sunrise and sunset glare washes out frames, and sun hitting the ground and brush in front of the camera warms it unevenly, which is a recipe for false triggers. Face it north. That's the rule, and the one real exception is when the terrain won't let you: the only good crossing runs so that a north-facing camera would be aiming straight down the trail. In that case take the angle that gets deer crossing sideways and live with an hour of glare, because a sideways deer in a glare-y frame beats a head-on deer you never caught.
Too high or angled wrong
Mount it up a tree and point it level and the deer walks right under the zone. Mount it low and angle it up and the deer walks behind the top of it. Aim for roughly deer chest height with only a slight downward angle. If you mount high to keep it from walking off, tilt it down to match and walk test it, because the zone tilts with the camera.
Too close or too far
Closer than about five feet and I get blurry body parts and not much else. That's my rule of thumb, not a spec. Past the camera's rated range neither the sensor nor the flash reaches, so the deer is in the picture but the camera doesn't know it.
Moving brush and skinny trees
Branches, grass and leaves moving in the sun will give you hundreds of blank photos, a full card and dead batteries, all from one breezy week. A thin tree does the same thing from the other direction: it sways, the frame shifts and the sensor reads the shifting background as something worth shooting. Clear a lane in front of the camera and pick a tree thicker than your thigh. No exceptions on the tree.
If you're not sure which travel route the camera belongs on in the first place, reading terrain to pick a stand walks through it. Same logic applies: find where deer actually travel, then set the camera to catch them crossing it sideways.
📌 Placement at a glance
- Facing
- North, unless terrain forces a different angle to get deer crossing sideways
- Angle to trail
- Across the trail, not down it
- Height
- About deer chest height, slight downward angle; tilt to match if mounted higher
- Distance
- Not closer than about 5 ft (Zak's rule of thumb), not past the rated range
- Tree
- Thicker than your thigh
- Lane
- Clear moving brush and grass in front of the lens
Night shots: flash range, blur and glow
The camera fires on a deer it can't light
The IR flash range is frequently shorter than the detection range, so the sensor picks up a deer the flash can't reach and you get a black frame, or a grainy one with two eyes in it. Check both specs separately in the manual. They're two different numbers, and if your manual only gives you one, that's worth noticing.
Blur
Low light means a slower shutter, and a slower shutter smears anything that's moving. Expect some of it. You can cut it down by putting cameras where deer slow down, scrapes, crossings, the spot where a trail squeezes through a fence gap, rather than where they're cruising through.
The white-out
Any weed or branch a few feet from the lens bounces the IR straight back and blows the whole frame white. It's the easiest fix in this post. Trim everything close on setup, and look again every pull, because weeds grow.
Glow, and the deer seeing it
Meek et al. 2014 found that camera traps can be heard and seen by animals. That's the part I'll state here. Whether it actually pushes deer off a spot is a longer conversation, and it's in our guide to whether trail cameras spook deer, so I won't re-argue it.
No-glow helps. It is not a guarantee of an undisturbed deer, because the camera isn't the only thing you brought in there. Your walk in, your scent on the tree and the noise of the check all count, and a no-glow camera you visit every three days is still a camera you visit every three days.
Batteries, SD cards and cold weather
Cold kills alkaline
Alkaline cells lose usable capacity in the cold, and the first hard cold snap of the season is when a lot of cameras go quiet. Lithium AAs are rated for much colder operation. Energizer's L91 datasheet lists the rated temperature range, so read it there instead of trusting a number off a forum. On a side note, mixing old and new cells, or mixing chemistries in the same camera, is asking for trouble.
The full card
A full card with overwrite turned off is the most boring way to lose a week of the rut, and in my experience the most common one. Check the card on every pull, every time, even when the battery meter looks fine.
The wrong card
- Speed class: your manual lists a minimum. Use it.
- Capacity: check your manual's max. Some older and budget cameras cap low, and a card bigger than the max may not work at all.
- Cheap or counterfeit cards: they fail quietly. Buy from a seller you trust.
- Never formatted in the camera: format it in the camera, not just on your computer.
Pulling it hot
Pulling the card while the camera is on can corrupt it. Power down first, every time, even when it's cold and you want to be back in the truck.
Settings that look like failures
Date and time never set, so everything is stamped January 1 and you think you lost a month. Time-lapse mode left on from some summer field-watching experiment. A schedule that turns off night capture. A camera set wrong looks exactly like a camera that's broken, very much exactly like it, so check the settings menu before you check the warranty.
What I carry on a camera check
Weather, critters and cellular cameras
Fog, dirt and spiders
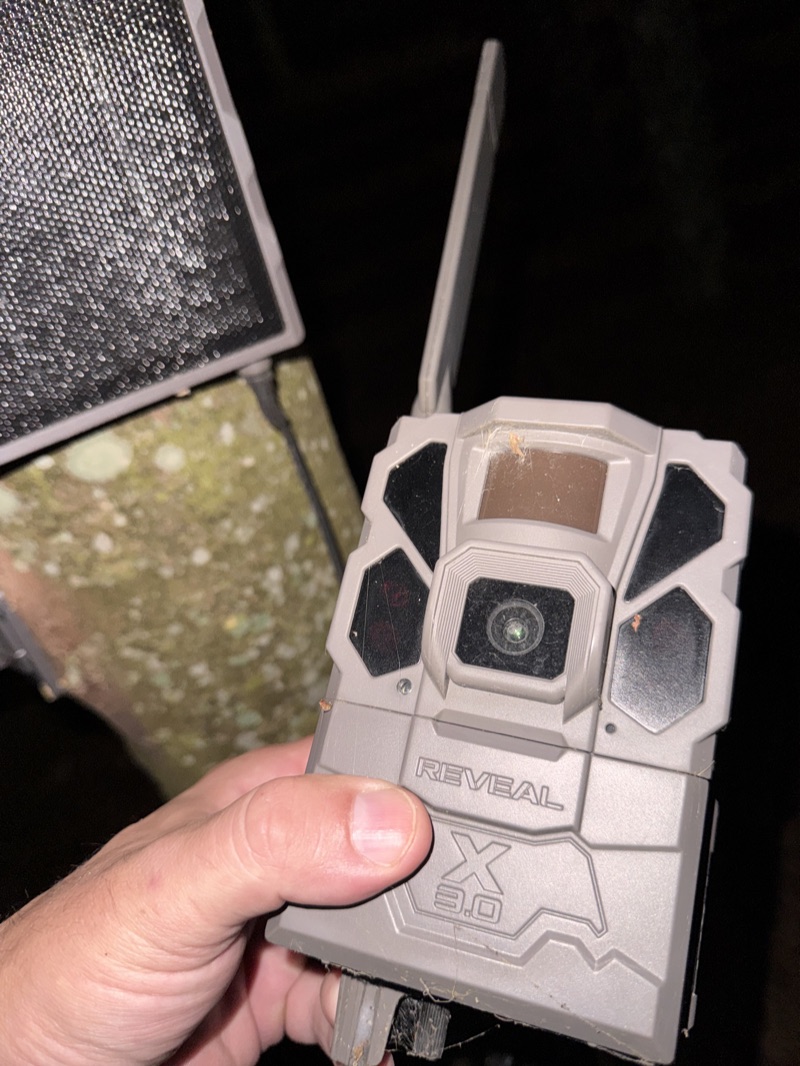
Big swings between day and night temperatures put condensation on the lens and you get a soft, foggy frame for the first chunk of the morning. Dirt, pollen and bugs on the lens or the sensor window do the same thing more slowly. And spiders love trail cams (I don't know why, they just do), so wipe the webs off the lens and the sensor window on every check.
Water
A worn seal or a battery door that didn't latch all the way is how water gets in, and once it's in, you're not diagnosing anymore. Check the latch before you walk away. Check it twice.
Bears, raccoons, squirrels and people
A bear or raccoon can chew on it, and a squirrel or a bumped strap can leave you with three days of dirt. Then there's theft, or somebody finding it and switching it off. A lock box and a cable cover the common cases. Not all of them, but the common ones.
Cellular cameras
Cell cams add a whole layer of ways to fail:
- Weak signal: the camera takes the photo and it uploads late, or never.
- Data plan maxed or lapsed: the camera's fine, the account isn't.
- Thumbnail-only uploads: you see a small preview and the full-res file sits on the card until you request it, which is how a "doe" turns out to be a buck.
- Battery drain: transmitting eats batteries much faster than a standard camera running the same setup.
The fix is to check signal at the exact mount spot before you commit, using the camera's own signal readout if it has one, at the tree, not at the truck. And treat a cell cam that's gone quiet as unknown, not as "no deer." Silence from a cell cam tells you the pipeline stopped. It doesn't tell you the deer did.
Log every camera check so the pattern shows up
One bad card doesn't tell you much. Five of them in a row usually do, if you wrote down what you found. I drop a waypoint in Ember at every camera with notes on facing direction, mount height, battery type, the last card swap and the symptom I saw on each check. After a few checks the pattern stops being a hunch, the camera that's always blank on hot afternoons, the one that's always dead after a cold snap, the cell cam that only goes silent after a rain, and it's on the map instead of in my memory, which is not where I want to be keeping it in November.
Put those camera waypoints next to your stand and access notes too. A camera check is still a trip into the spot, and if the only way to that camera walks you past the bedding you're trying to hunt, your camera is costing you more than it's telling you.
The card is evidence. Read it before you blame the camera, move the camera or buy a new one.
Sources: Welbourne et al. 2016, How do passive infrared triggered camera traps operate and why does it matter?, Remote Sensing in Ecology and Conservation 2(2):77-83; Rowcliffe et al. 2011, Quantifying the sensitivity of camera traps, Methods in Ecology and Evolution 2:464-476; Meek et al. 2014, Camera traps can be heard and seen by animals, PLoS ONE 9(10): e110832; Energizer Ultimate Lithium AA (L91) datasheet. Rules of thumb on trigger speed (about 0.5 seconds) and minimum distance (about 5 ft) are Zak Nixon's field notes, not tested specs.
Frequently asked questions
Why is my trail camera taking pictures of nothing?
Usually something in front of it is moving in the sun: brush, grass, or a thin tree swaying in the wind, which the PIR sensor reads as a moving temperature difference. Clear a lane in front of the lens, mount on a tree thicker than your thigh, face it north and lower the sensitivity a notch if it's still firing on wind.
Why are my trail camera night pictures black?
Most often the deer was past the IR flash range, which is frequently shorter than the camera's detection range, so the sensor fired on a deer the flash couldn't light. Check both specs separately in your manual and set the camera where deer pass within flash range. If the frames are white instead of black, a weed or branch near the lens is bouncing the IR back.
Why does my trail camera only get the back half of deer?
A slow trigger speed, a deer approaching head-on, a detection zone narrower than the lens, or a camera mounted too close can all produce tails and half bodies. Aim the camera across the trail rather than down it, back it off a few feet, and check the trigger speed listed in your manual.
Do lithium batteries last longer in trail cameras in cold weather?
Alkaline cells lose usable capacity in the cold, while lithium AAs are rated for much colder operation. Check the manufacturer's datasheet, such as Energizer's L91 sheet, for the exact rated range, and don't mix chemistries in the same camera.
Why is my cellular trail camera not sending pictures?
The camera may be capturing photos fine but failing to upload them because of weak signal, a maxed or lapsed data plan, or thumbnail-only upload settings. Check signal at the exact mount spot before you commit, and treat a silent cell cam as unknown rather than as proof there are no deer.
Liked this? Get more like it.
One tactic a week, straight to your inbox.
Written by
Founder
Founder of Ember. A new hunter building the club-coordination and safety tools he wants for his own first season.
More about Zak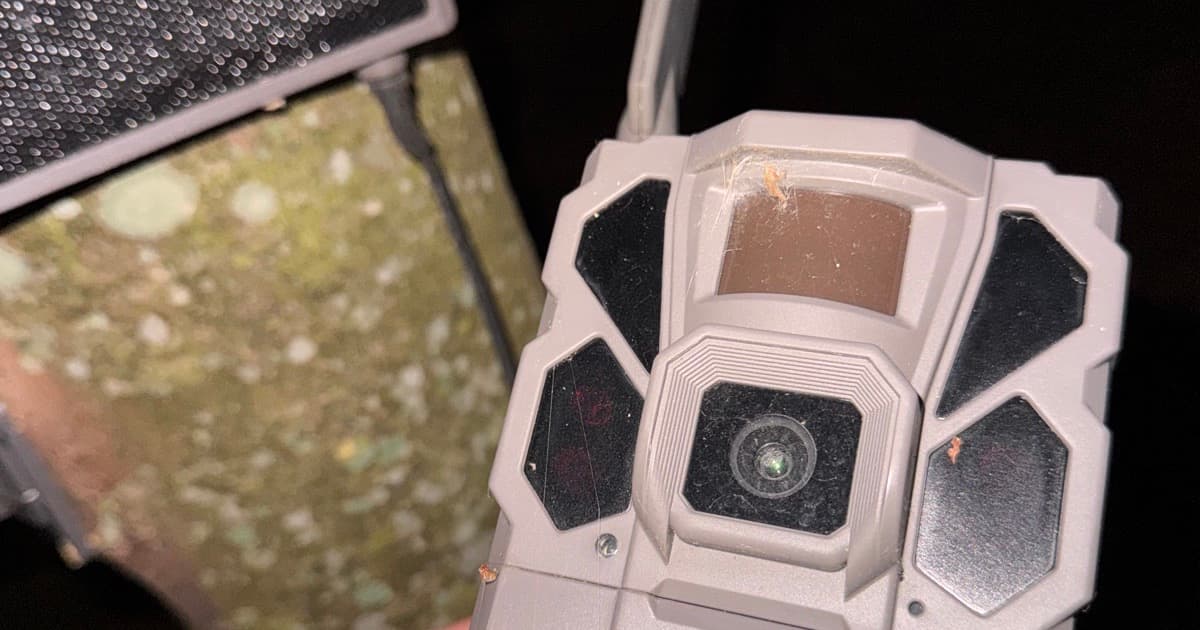
Scout better than you did last season
One field-tested tactic, every week — no spam, unsubscribe anytime.